在Spring Boot中,可以使用@Scheduled注解快速的实现一些常用的定时任务场景,接下来讲解具体的实现方式。
1.启动类添加注解@EnableScheduling
package com.zwwhnly.springbootdemo;

import org.springframework.boot.SpringApplication;
import org.springframework.boot.autoconfigure.SpringBootApplication;
import org.springframework.scheduling.annotation.EnableScheduling;

@EnableScheduling
@SpringBootApplication
public class SpringbootdemoApplication {

    public static void main(String[] args) {
        SpringApplication.run(SpringbootdemoApplication.class, args);
    }
}
2.定时任务所在类添加注解@Component
3.定时任务的方法上添加注解@Scheduled
package com.zwwhnly.springbootdemo;

import org.springframework.scheduling.annotation.Scheduled;
import org.springframework.stereotype.Component;

import java.text.SimpleDateFormat;
import java.util.Date;

@Component
public class TestSchedule {
    private SimpleDateFormat simpleDateFormat = new SimpleDateFormat("yyyy-MM-dd HH:mm:ss");

    // 每5秒执行一次
    @Scheduled(fixedRate = 5000)
    public void testFixedRate() {
        System.out.println("当前时间:" + simpleDateFormat.format(new Date()));
    }
}
运行结果如下图所示:
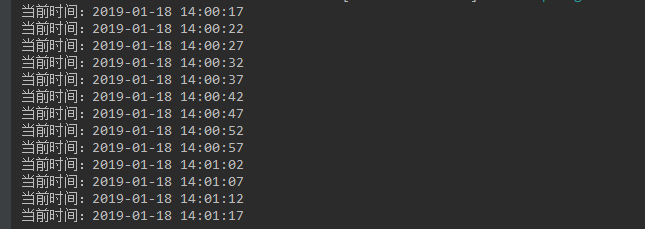
以上场景中每次任务的执行时间不会超过定义的频率(5秒),因此从运行结果看执行很正常,那么在实际的业务场景中,任务的执行时间是可能会超过定义的频率的,彼时程序又是如何运行的呢?
我们来修改下代码,让其每次都延迟6秒:
// 每5秒执行一次
@Scheduled(fixedRate = 5000)
public void testFixedRate() {
     System.out.println("当前时间:" + simpleDateFormat.format(new Date()));
     try {
         Thread.sleep(6000);
     } catch (InterruptedException e) {
         e.printStackTrace();
     }
}
此时的运行结果为:

从结果可以看出,如果任务的执行时间超过了定义的频率,那么上一次任务执行完后,会立即执行下一次任务。
除了上面的fixedDelay,@Scheduled还支持fixDelay和cron表达式。
我们先来看下fixedDelay的使用:
// 上次任务执行结束时间与下次任务执行开始的间隔时间为5s
@Scheduled(fixedDelay = 5000)
public void testFixedDelay() {
     System.out.println("当前时间:" + simpleDateFormat.format(new Date()));
     try {
         Thread.sleep(6000);
     } catch (InterruptedException e) {
         e.printStackTrace();
     }
}

从运行结果可以看出,每两次打印的时间间隔为11秒,也就是任务执行完成后(6s),又延迟了5秒才开始执行下一次任务。
通过这个示例也能比较出fixedRate与fixedDelay的区别。
接下来我们来讲解下使用cron表达式来配置定时任务,在实际的场景中,该种方式使用的更多,因为它配置很灵活,可以满足很多种场景,如每隔多久执行,某个固定的时间点执行等。
// 每20秒执行一次
@Scheduled(cron = "0/20 * * * * ? ")
public void testFixedDelay() {
    System.out.println("当前时间:" + simpleDateFormat.format(new Date()));
}
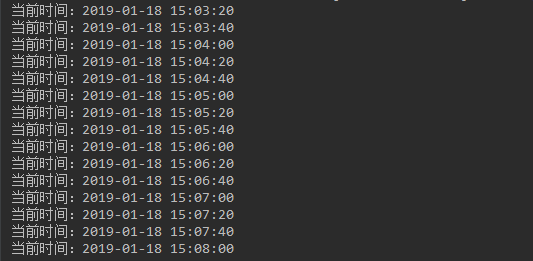
更多的cron表达式,可以到网站http://cron.qqe2.com/去自定义,满足你的各种场景。
参考文章: