一:内容
SpringMVC,它属于Spring基本框架里面的一个组成部分,在实际开发过程中,接收浏览器请求响应,对数据进行数据处理,然后返回页面进行显示。
二:入门示例:
1.创建web工程,并导入相应的jar包
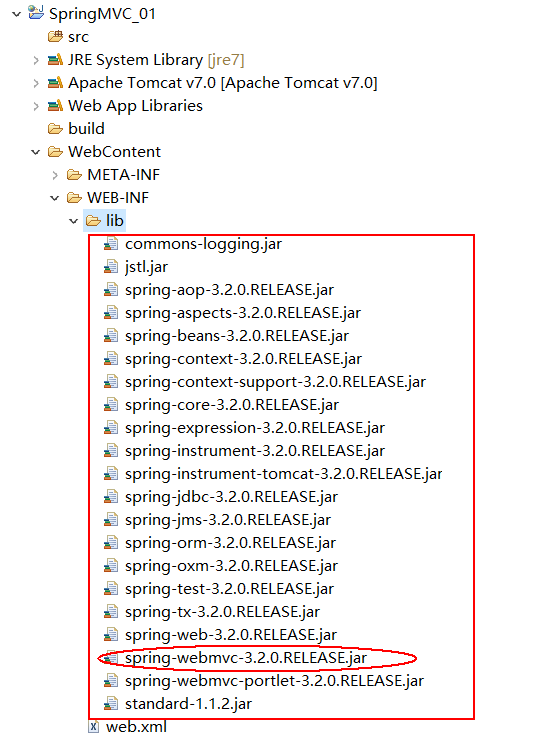
|
2.新建SpringMVC全局配置文件
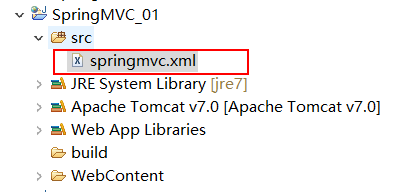
|
<?xml version="1.0" encoding="UTF-8"?>
<beans xmlns="http://www.springframework.org/schema/beans"
xmlns:xsi="http://www.w3.org/2001/XMLSchema-instance"
xmlns:mvc="http://www.springframework.org/schema/mvc"
xmlns:context="http://www.springframework.org/schema/context"
xmlns:aop="http://www.springframework.org/schema/aop"
xmlns:tx="http://www.springframework.org/schema/tx"
xsi:schemaLocation="http://www.springframework.org/schema/beans
http://www.springframework.org/schema/beans/spring-beans-4.2.xsd
http://www.springframework.org/schema/mvc
http://www.springframework.org/schema/mvc/spring-mvc-4.2.xsd
http://www.springframework.org/schema/context
http://www.springframework.org/schema/context/spring-context.xsd
http://www.springframework.org/schema/aop
http://www.springframework.org/schema/aop/spring-aop-4.2.xsd
http://www.springframework.org/schema/tx
http://www.springframework.org/schema/tx/spring-tx.xsd">
</beans> |
3.在web。xml文件中配置前端过滤器
<?xml version="1.0" encoding="UTF-8"?>
<web-app xmlns:xsi="http://www.w3.org/2001/XMLSchema-instance"
xmlns="http://java.sun.com/xml/ns/javaee"
xsi:schemaLocation="http://java.sun.com/xml/ns/javaee
http://java.sun.com/xml/ns/javaee/web-app_3_0.xsd" id="WebApp_ID" version="3.0">
<display-name>SpringMVC_01</display-name>
<!-- 配置前端控制器DispatcherServlet -->
<servlet>
<servlet-name>springmvc</servlet-name>
<servlet-class>org.springframework.web.servlet.DispatcherServlet</servlet-class>
<init-param>
<param-name>contextConfigLocation</param-name>
<!-- 对应上一步创建全局配置文件的文件名以及目录 -->
<param-value>classpath:springmvc.xml</param-value>
</init-param>
</servlet>
<servlet-mapping>
<servlet-name>springmvc</servlet-name>
<url-pattern>*.do</url-pattern>
</servlet-mapping>
</web-app> |
4.编写处理器Handler
package cn.gzsxt.controller;
import javax.servlet.http.HttpServletRequest;
import javax.servlet.http.HttpServletResponse;
import org.springframework.web.servlet.ModelAndView;
import org.springframework.web.servlet.mvc.Controller;
public class HelloController implements Controller{
@Override
public ModelAndView handleRequest(HttpServletRequest request,
HttpServletResponse response) throws Exception {
ModelAndView modelView = new ModelAndView();
//类似于 request.setAttribute()
modelView.addObject("name","张三");
modelView.setViewName("/WEB-INF/view/index.jsp");
return modelView;
}
} |
5.配置Handler,处理器映射器,配置处理器适配器,试图解析器
<!-- 配置Handler --> <bean name="/hello.do" class="com.ys.controller.HelloController" />
<!-- 配置处理器映射器
将bean的name作为url进行查找,需要在配置Handler时指定bean name(就是url)-->
<bean class="org.springframework.web.servlet.handler.BeanNameUrlHandlerMapping" />
<!-- 配置处理器适配器,所有适配器都得实现 HandlerAdapter接口 -->
<bean class="org.springframework.web.servlet.mvc.SimpleControllerHandlerAdapter" />
<!-- 配置视图解析器 进行jsp解析,默认使用jstl标签,classpath下得有jstl的包-->
<bean class="org.springframework.web.servlet.view.InternalResourceViewResolver" />
|
6.在WEB-INF/view目录下创建index.jsp文件
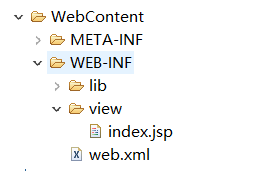
|
<%@ page language="java" contentType="text/html; charset=UTF-8"
pageEncoding="UTF-8"%>
<!DOCTYPE html PUBLIC "-//W3C//DTD HTML 4.01 Transitional//EN" "http://www.w3.org/TR/html4/loose.dtd">
<html><head><meta http-equiv="Content-Type" content="text/html; charset=UTF-8">
<title>Insert title here</title></head><body>hello:${name}</body></html> |
7.浏览器输出:
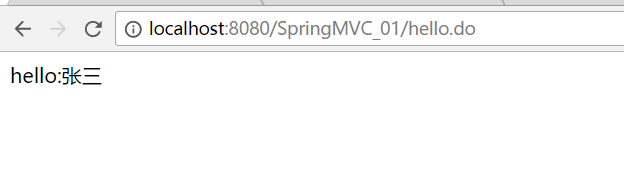
|