第一个Mybatis程序
一、创建数据库、数据表
![[外链图片转存失败,源站可能有防盗链机制,建议将图片保存下来直接上传(img-7bVooJgK-1613463680557)(C:\Users\呆呆槑\AppData\Roaming\Typora\typora-user-images\image-20210216152028595.png)]](http://static.lsd365.com/upload/image/lingsidao/20210216/1613469962910156.jpg)
sql语句如下:
create database mybatis;
use mybatis;
create table user(
    id int primary key auto_increment ,
    name varchar(50) not null,
    pwd varchar(50) not null
);
插入数据:
insert into user values (1,'daidaimei','12345'),(2,'chenxm','12345'),(5,'dym','11111');
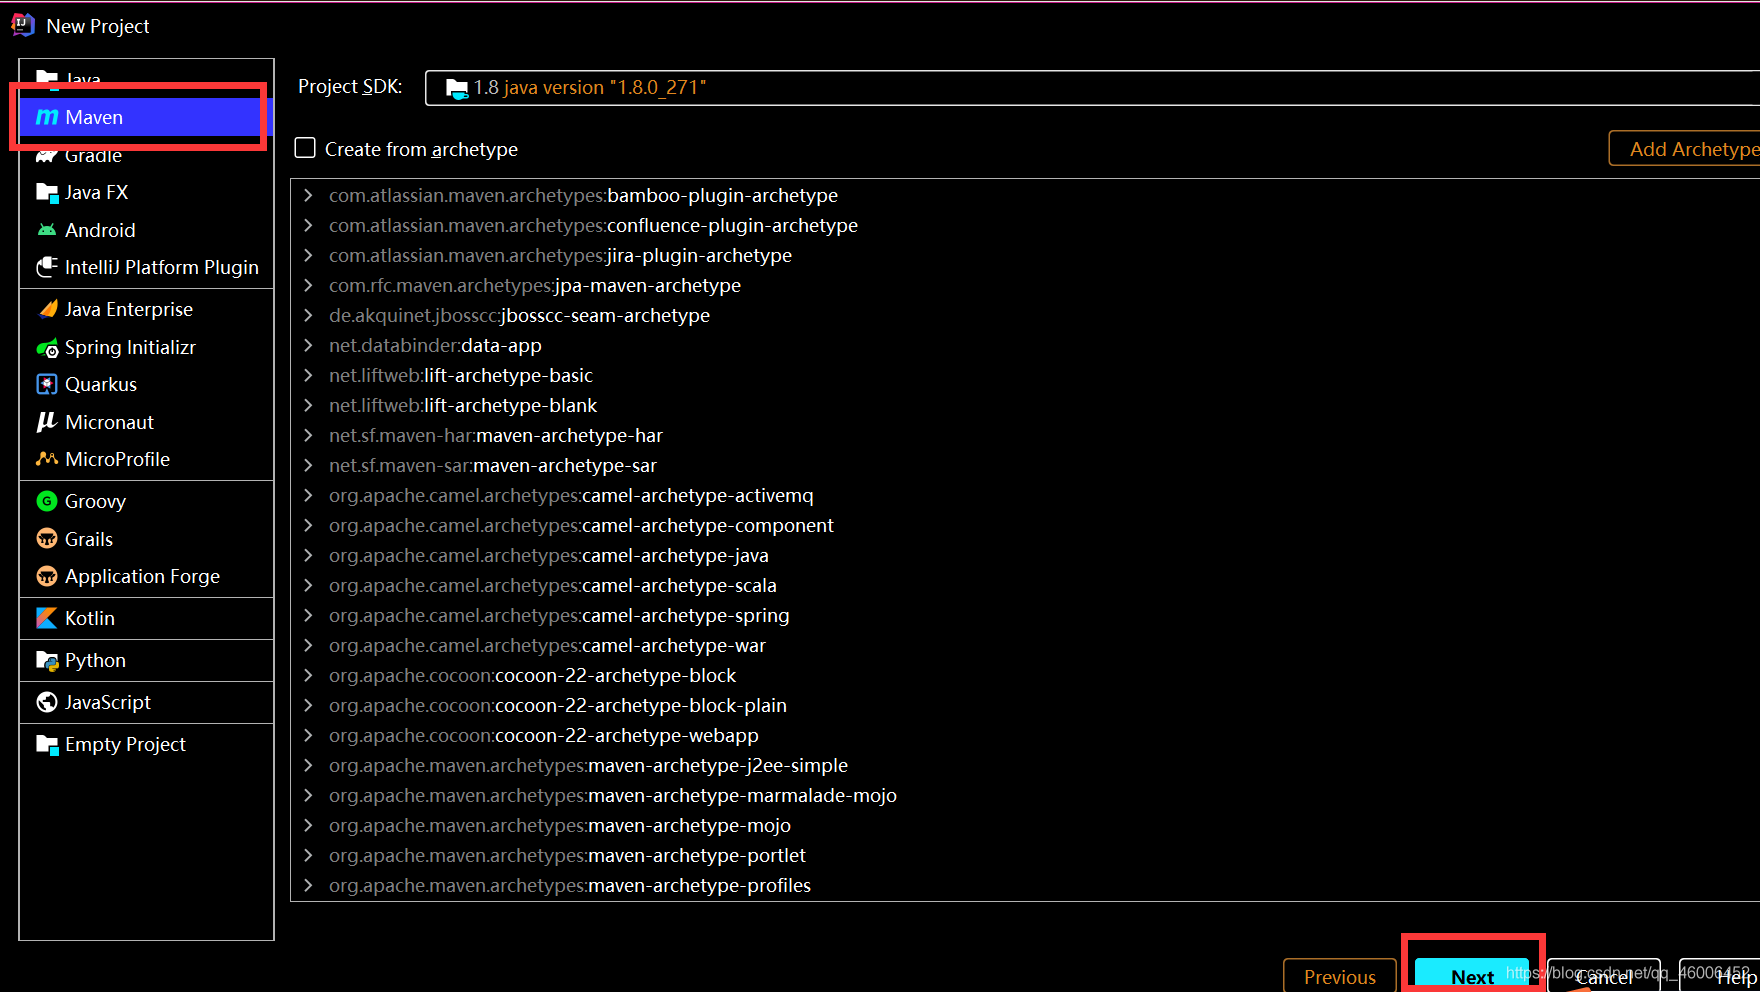
二、新建一个Maven项目
![[外链图片转存失败,源站可能有防盗链机制,建议将图片保存下来直接上传(img-0A44rjZo-1613463680565)(C:\Users\呆呆槑\AppData\Roaming\Typora\typora-user-images\image-20210215183255092.png)]](http://static.lsd365.com/upload/image/lingsidao/20210216/1613469963757336.png)

点击完成。
我们可以将mybatis公共的代码(例如pom.xml文件许多重要配置代码是重复的)在父项目中完成,这样下次新建项目的时候只要在父项目的基础上新建模块(Module)就行了,就不用每次写pom.xml文件里的重复内容;
-
删除src文件夹;
父项目不写代码,只做一些固定的设置,代码在子项目中完成。 -
编写父项目mybatis的pom.xml文件:
导入依赖:
 <dependencies>

        <dependency>
            <groupId>mysql</groupId>
            <artifactId>mysql-connector-java</artifactId>
            <version>8.0.20</version>
        </dependency>
        <dependency>
            <groupId>org.mybatis</groupId>
            <artifactId>mybatis</artifactId>
            <version>3.5.6</version>
        </dependency>
        <dependency>
            <groupId>junit</groupId>
            <artifactId>junit</artifactId>
            <version>4.12</version>
        </dependency>

    </dependencies>
*导入资源路径:
<build>
    <resources>
        <resource>
            <directory>src/main/resources</directory>
            <includes>
                <include>**/*.properties</include>
                <include>**/*.xml</include>
            </includes>
            <filtering>true</filtering>
        </resource>
        <resource>
            <directory>src/main/java</directory>
            <includes>
                <include>**/*.properties</include>
                <include>**/*.xml</include>
            </includes>
            <filtering>true</filtering>
        </resource>
    </resources>
</build>
三、在mybatis中新建子项目

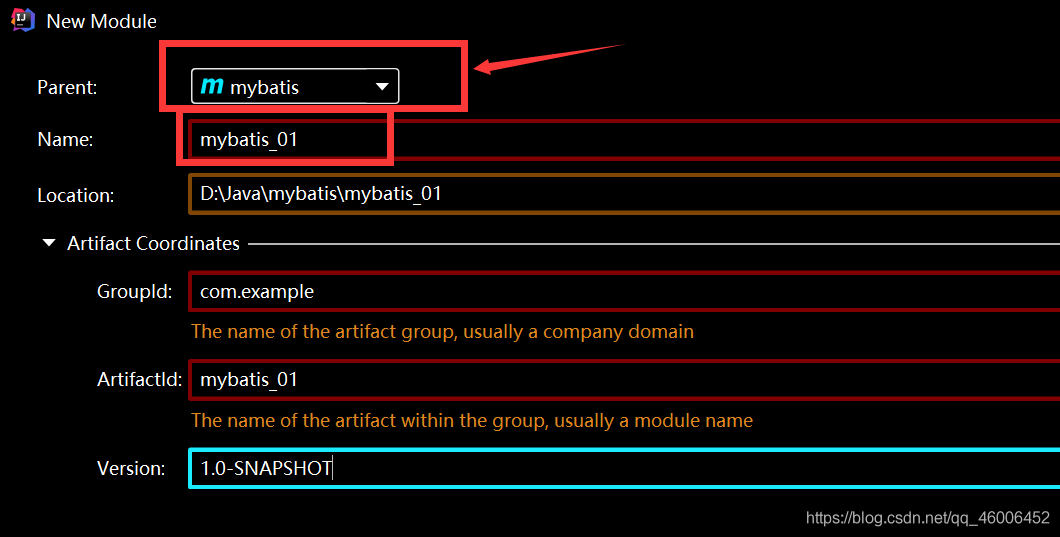
注意Parent继承父项目mybatis;
点击完成。
-
在mybatis_01的src>resource文件夹下新建核心配置文件mybatis-config.xml ;
<environments default="development"> <environment id="development"> <transactionManager type="JDBC"/> <dataSource type="POOLED"> <property name="driver" value="com.mysql.jdbc.Driver"/> <property name="url" value="jdbc:mysql://localhost:3306/mybatis?useSSL=true&useUnicode=true&characterEncoding=UTF-8&serverTimezone=GMT"/> <property name="username" value="root"/> <property name="password" value="1234"/> </dataSource> </environment> </environments>注意password填写自己数据库的密码!
-
编写util、dao、pojo层代码;
![[外链图片转存失败,源站可能有防盗链机制,建议将图片保存下来直接上传(img-NQYHAJIW-1613463680576)(C:\Users\呆呆槑\AppData\Roaming\Typora\typora-user-images\image-20210215183527239.png)]](http://static.lsd365.com/upload/image/lingsidao/20210216/1613469966356741.jpg)
Util工具类:public class MybatisUtil { private static SqlSessionFactory sqlSessionFactory; static{ try { //使用mybatis获取sqlSession对象 String resource = "mybatis-config.xml"; InputStream inputStream = null; inputStream = Resources.getResourceAsStream(resource); sqlSessionFactory = new SqlSessionFactoryBuilder().build(inputStream); }catch (IOException e) { e.printStackTrace(); } } //既然有了 SqlSessionFactory,顾名思义,我们可以从中获得 SqlSession 的实例。 // SqlSession 提供了在数据库执行 SQL 命令所需的所有方法。 public static SqlSession getSqlSession(){ return sqlSessionFactory.openSession(); } }User实体类:
public class User {
    private int id;
    private String name;
    private String pwd;

    public User(int id,String name,String pwd) {
        this.id = id;
        this.name = name;
        this.pwd = pwd;

    }

    @Override
    public String toString() {
        return "User{" +
                "id=" + id +
                ", name='" + name + '\'' +
                ", pwd='" + pwd + '\'' +
                '}';
    }

    public int getId() {
        return id;
    }

    public void setId(int id) {
        this.id = id;
    }

    public String getName() {
        return name;
    }

    public void setName(String name) {
        this.name = name;
    }

    public String getPwd() {
        return pwd;
    }

    public void setPwd(String pwd) {
        this.pwd = pwd;
    }
}
UserMapper接口:
public interface UserMapper {

    //查询全部结果
    List<User> GetUserList();

}
UseMapper.xml配置文件(每一个Mapper接口类都需要一个同名的xml配置文件来实现它):
<mapper namespace="com.cxm.dao.UserMapper">

    <select id="GetUserList" resultType="com.cxm.pojo.User" parameterType="int">
        select * from mybatis.user
    </select>

</mapper>
在核心配置文件mybatis-config.xml中添加mapper声明:
 <mappers>
      <mapper resource="com/cxm/dao/UserMapper.xml"/>
  </mappers>
每写一个接口配置文件(如UserMapper.xml)都需要在核心配置文件mybatis-config中声明。
即mybatis-config完整代码如下:
四、编写测试类
![[外链图片转存失败,源站可能有防盗链机制,建议将图片保存下来直接上传(img-tKzJsAdT-1613463680580)(C:\Users\呆呆槑\AppData\Roaming\Typora\typora-user-images\image-20210216150715336.png)]](http://static.lsd365.com/upload/image/lingsidao/20210216/1613469973119446.jpg)
public class UserDaoTest {

    @Test
    public void TestSelect(){

        //获得Session对象
        SqlSession sqlSession =MybatisUtil.getSqlSession();

        //getMapper
        UserMapper mapper = sqlSession.getMapper(UserMapper.class);
        List<User> userList =  mapper.GetUserList();

        //遍历得到结果
        for(User user : userList){
            System.out.println(user);
        }

        //关闭sqlSesssion
        sqlSession.close();

    }
}
控制台输出:![[外链图片转存失败,源站可能有防盗链机制,建议将图片保存下来直接上传(img-0AOh0j9C-1613463680584)(C:\Users\呆呆槑\AppData\Roaming\Typora\typora-user-images\image-20210216153009861.png)]](http://static.lsd365.com/upload/image/lingsidao/20210216/1613469977513609.jpg)
五、可能遇到的问题:
- 找不到xml配置文件
原因:未在pom.xml中导入资源路径。
解析:若未在pom.xml中导入build资源路径,系统不能识别到我们的xml文件,还有其他形式的配置文件比如properties配置文件;
解决:把java文件夹和resources文件夹下的xml文件、properties文件声明为资源文件。
代码如下:(只需在父项目的xml文件中写一遍即可,在父项目的基础上新建的项目都不用写)
    <build>
        <resources>
            <resource>
                <directory>src/main/resources</directory>
                <includes>
                    <include>**/*.properties</include>
                    <include>**/*.xml</include>
                </includes>
                <filtering>true</filtering>
            </resource>
            <resource>
                <directory>src/main/java</directory>
                <includes>
                    <include>**/*.properties</include>
                    <include>**/*.xml</include>
                </includes>
                <filtering>true</filtering>
            </resource>
        </resources>
    </build>
注:每次修改pom.xml文件后需点击更新maven![[外链图片转存失败,源站可能有防盗链机制,建议将图片保存下来直接上传(img-Tlarmemm-1613463680589)(C:\Users\呆呆槑\AppData\Roaming\Typora\typora-user-images\image-20210216155621561.png)]](http://static.lsd365.com/upload/image/lingsidao/20210216/1613469986434498.jpg)
2. 核心配置文件中乱码问题
原因:在mybatis-config.xml文件中写中文注释,字符串解析时出问题;
解析:核心配置文件mybatis -config.xml文件和各个接口配置文件UserMapper.xml中都尽量不要有多余的注释、字符,格式尽量标准、统一。有的IDE可能没有乱码问题,有的很严格。
解决:检查、删除xml文件中的多余字符、注释。